Here’s a super simple recipe that I always seem to need just to check the ratios. It is a quick and easy recipe that will only take a few minutes but those few minutes make such a better product than anything you can get from the store. Just throw all the ingredients into a bowl and whisk together and you have the start of a great dessert, a topping for your coffee or pancakes, or just eat it as a treat!

Tips and Tricks
- Any tips of sugar will work with this recipe but powdered sugar will give the most consistent results. I mostly use powdered sugar but if the whipped cream will be going on a cinnamon coffee, I will use brown sugar. It is a fun factor to mess with and try with different things!
- Another fun swap is to change out the vanilla extract for different syrups. I’ve used both mint and a cinnamon syrup with this recipe to change up the flavors. It makes it really fun then!
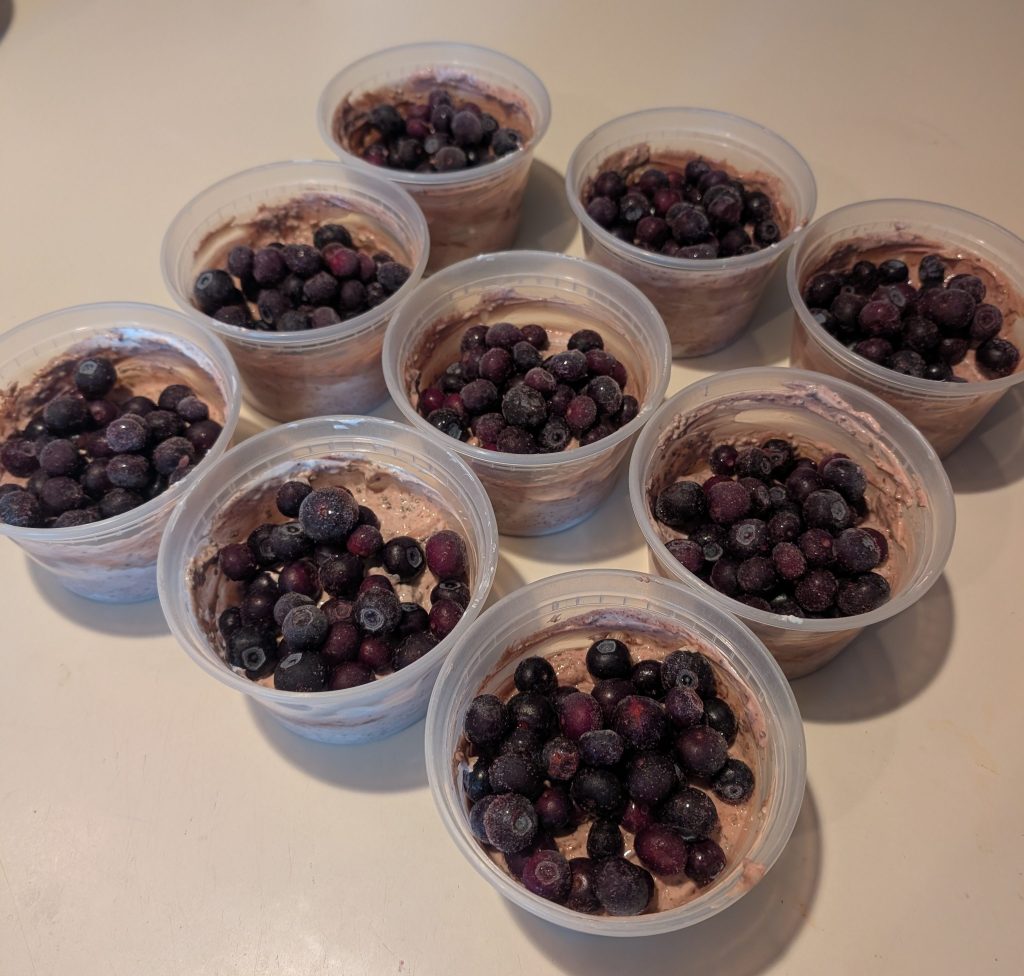
- I honestly love to make this and pair it with fruit to make a fun dessert. It tastes like a dessert and not completely terrible for you. It makes for a good middle ground.
- Be careful not to overwhip the heavy cream as that can create butter and I’m guessing that’s not what your looking for.
The Recipe
Simple Whipped Cream
With just three ingredients and a few minutes you can have perfect whipped cream that has so many different uses!
Ingredients
- 240 ml (1 cup) of Heavy Whipping Cream
- 20 g (2.5 tbsp) of Powdered Sugar
- 1/2 tsp of Pure Vanilla Extract
Directions
- Add in all ingredients into a bowl and with a stand mixer or hand held mixer whisk on medium high speed for 3 to 5 minutes.
- You’ll know when its close when you stop mixing for a moment and the cream will have these peaks that start to stand on there own.
- Once the peaks fully stand and don’t drop very much, you have made whipped cream!
- Place into a container and refrigerator for up to 24 hours.
Nutrition
Per Serving(2 Tbsp of Whipped Cream):
50 calories;
0 g protein;
5.5 g fat;
0.5 g carbohydrate;