My scone obsession has returned! After the holidays, I started experimenting with different scones and these are my current favorites. They are light and tender but provide the right amount of sweetness to pair with your morning coffee. Or afternoon coffee. Or you can just have one anytime really!
These are best served right after baking. I ate three the first time I baked them. If you want to be a bit more reasonable with your diet than me, let them cool and you can store them in an airtight container. I would recommend, warming them up a little bit before you eat them and it brings them right back to life.
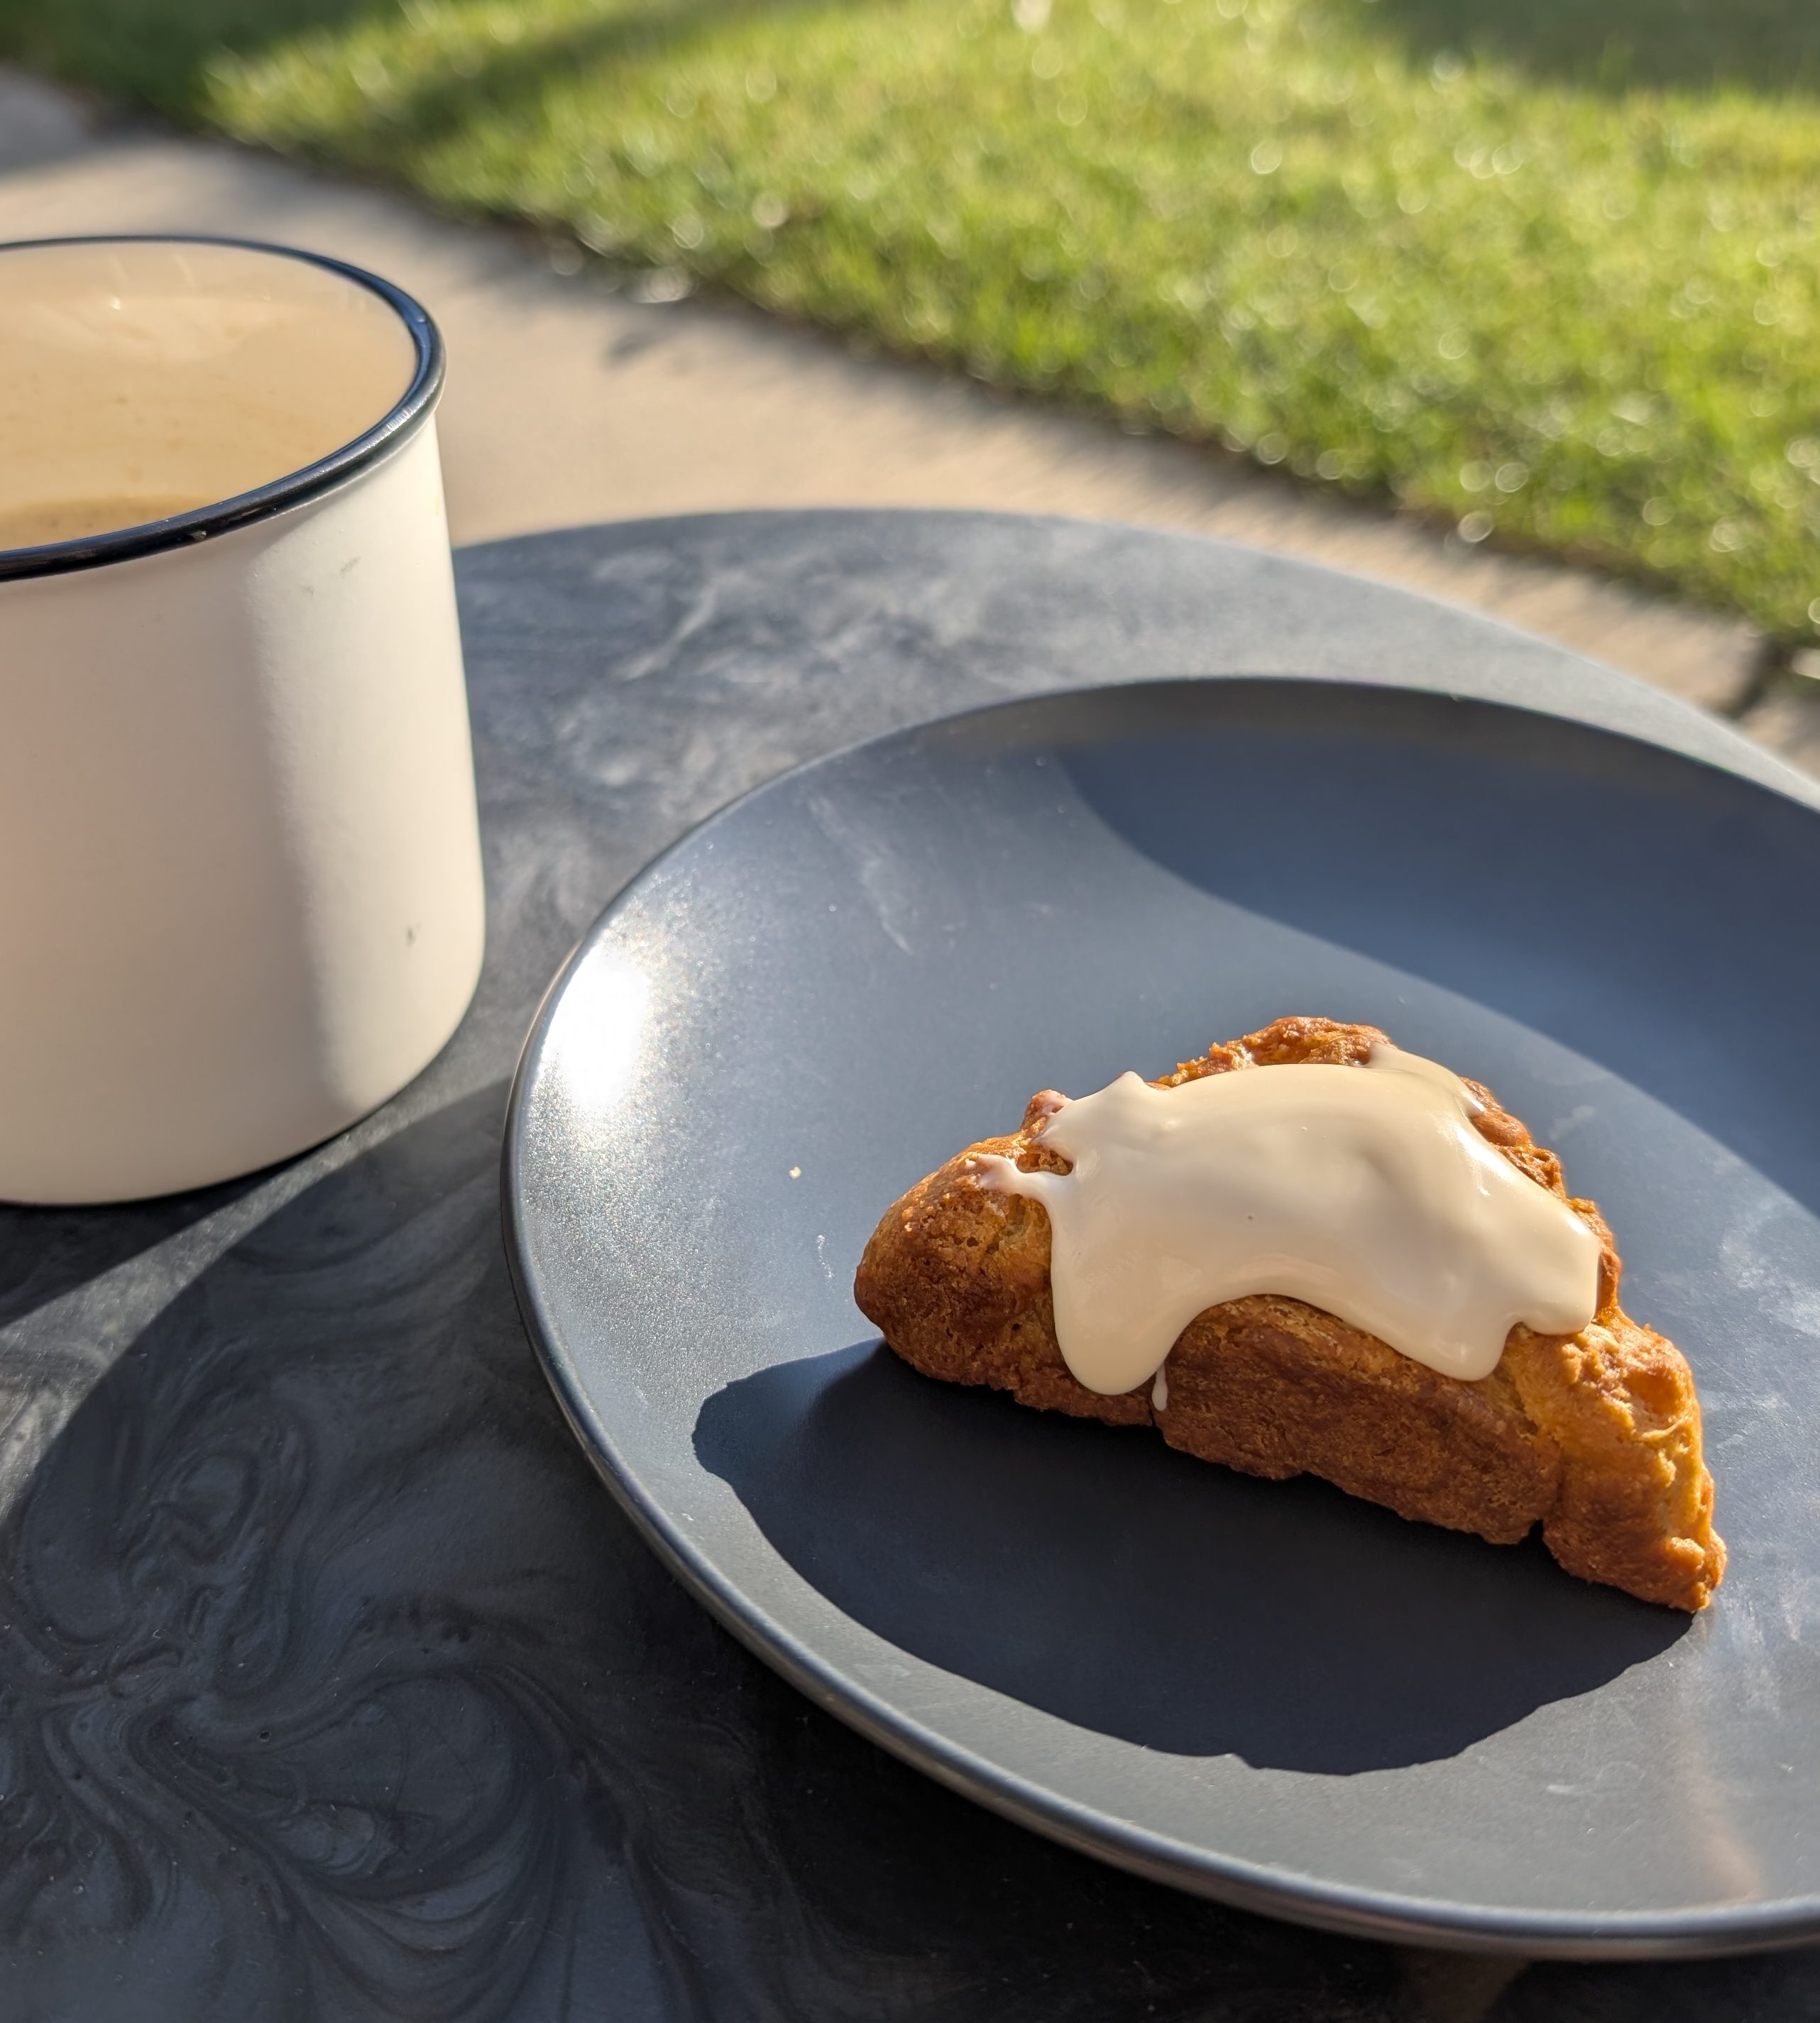
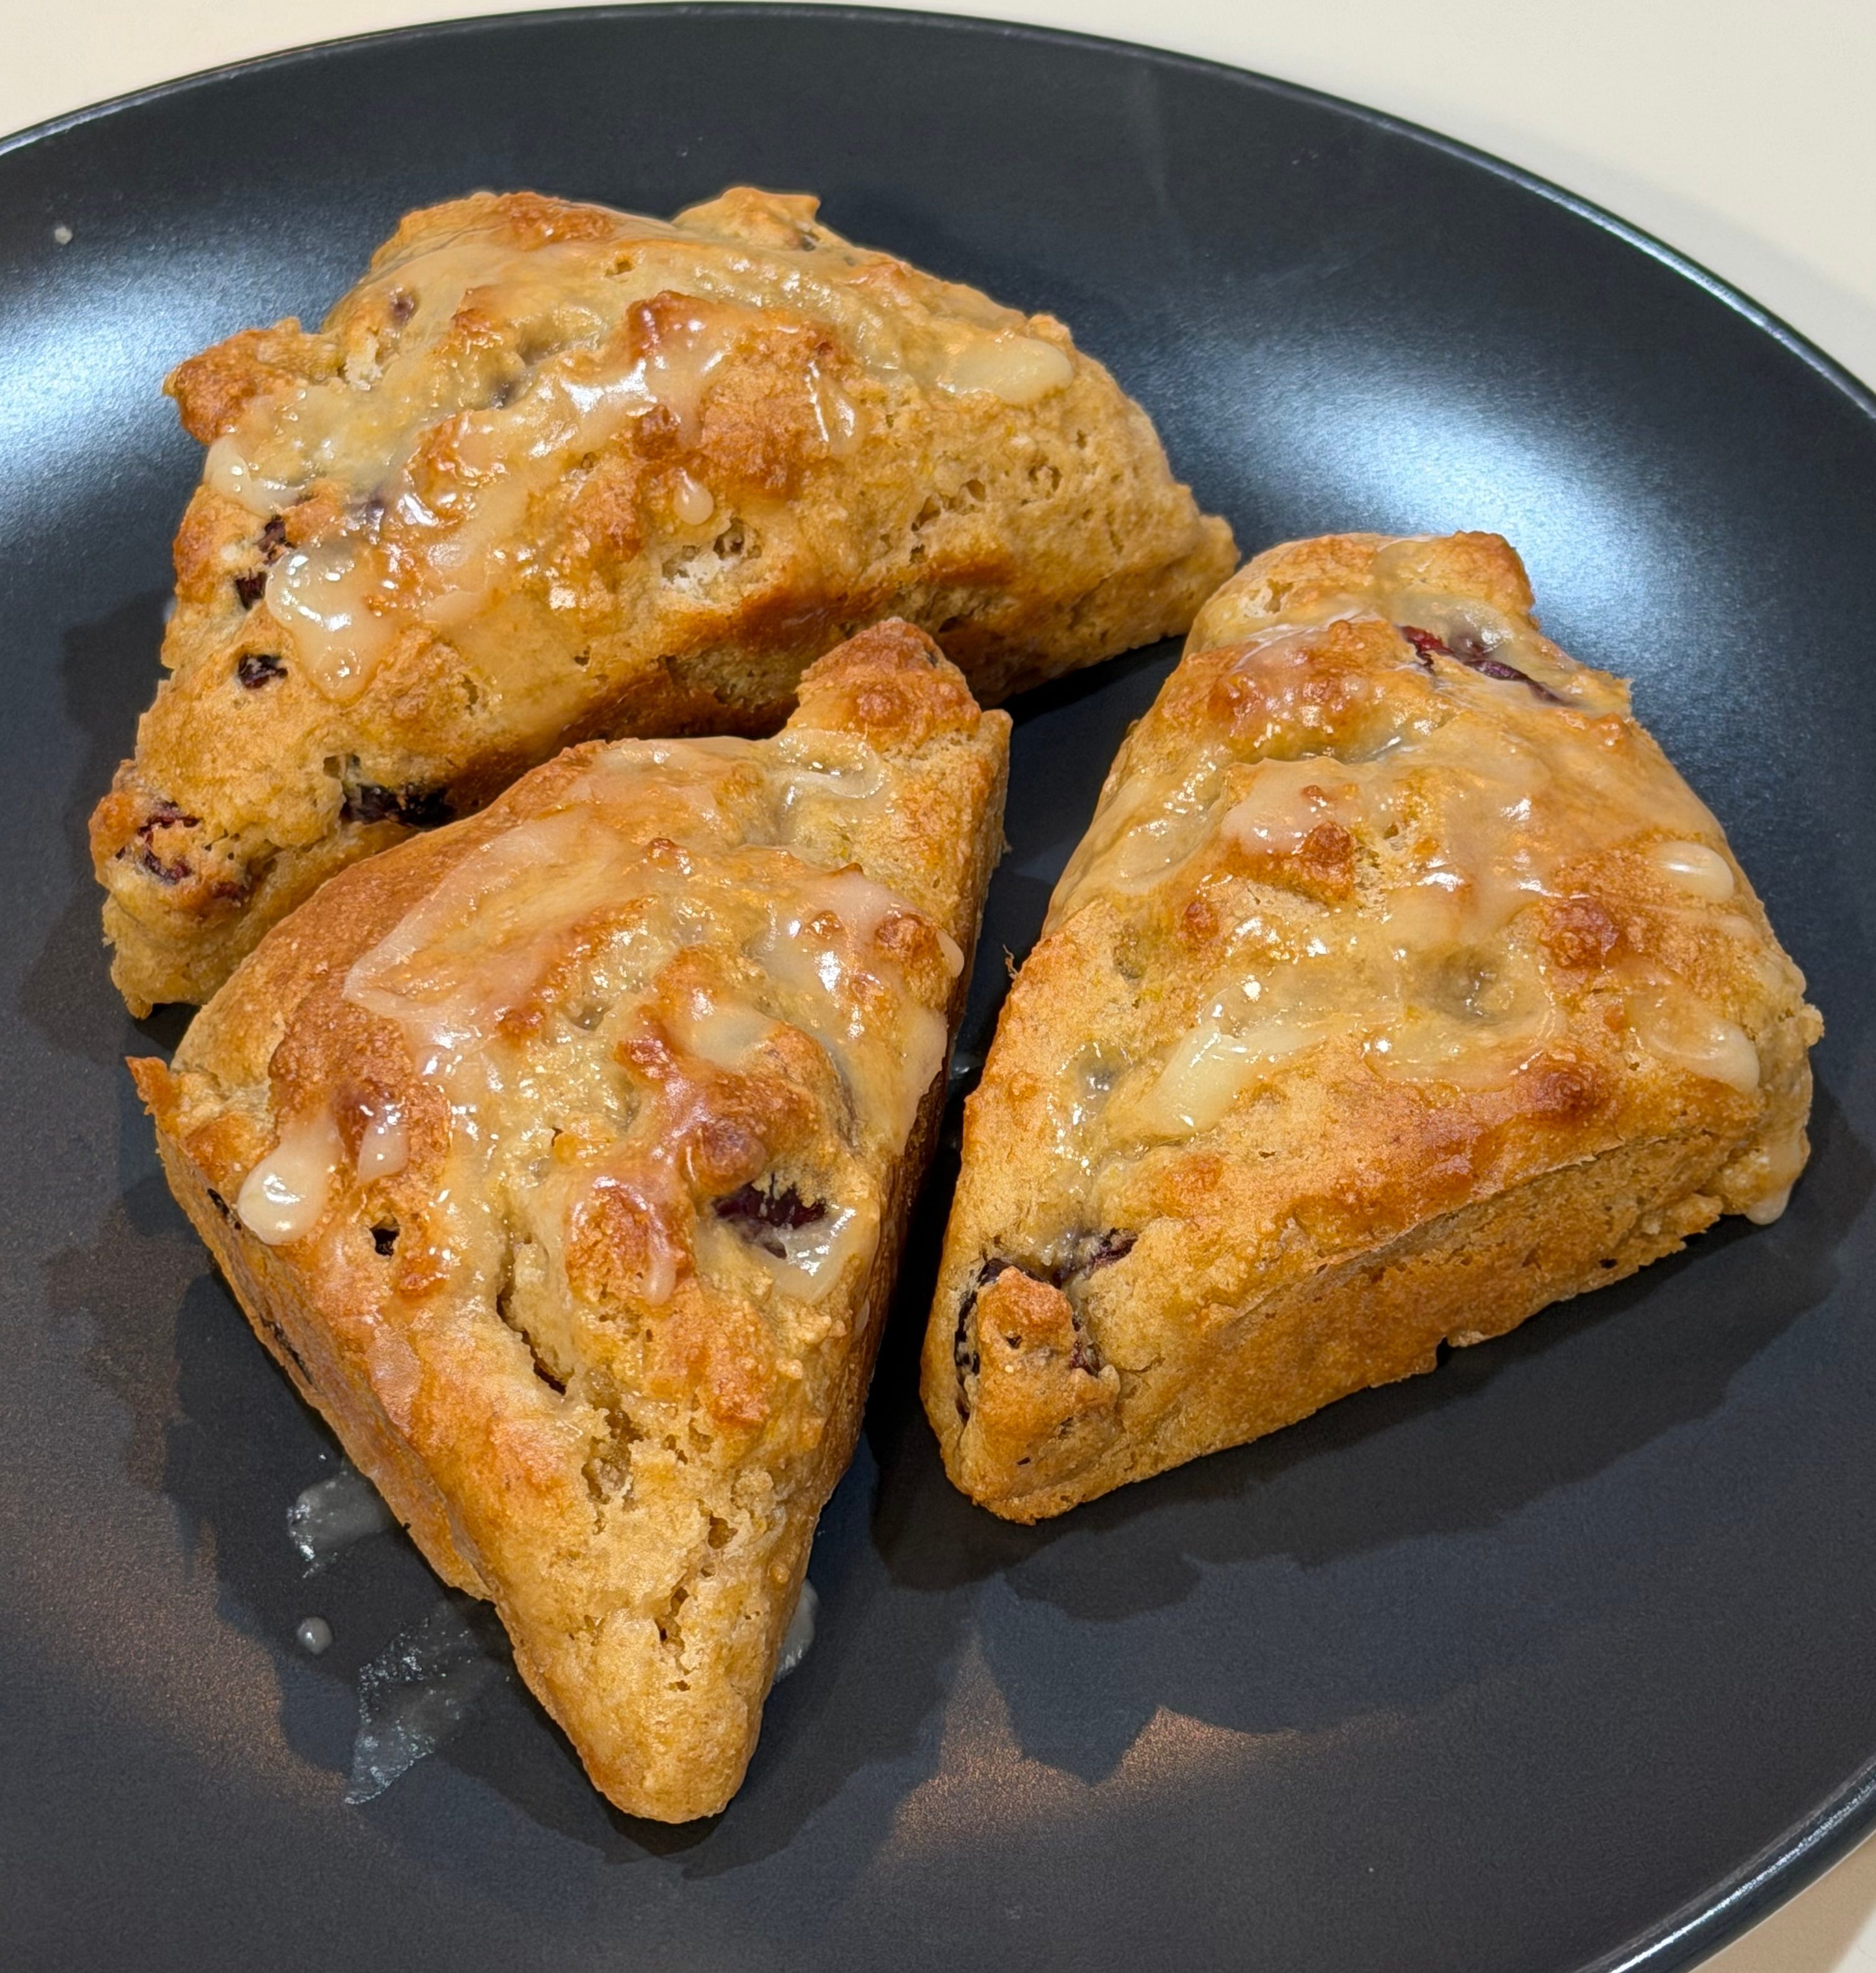
Cranberry Orange Scones
A bright citrus flavor and a buttery crumb that is both fresh and cozy. Perfect for a slow morning and a hot cup of coffee.
Ingredients
- Dough
- 1 3/4 cup (200 grams) of Whole Wheat Flour
- 3 tablespoons (35 grams) of Sugar
- 1/2 teaspoon (2 grams) of Salt
- 3/4 tablespoon (10 grams) of Baking Powder
- 5 tablespoons (70 grams) of Cold Unsalted Butter
- 1/2 cup (55 grams) of Dried Cranberries
- 1 Eggs (50 grams)
- 1 tablespoon (14 grams) of Orange Juice
- 1/2 cup (113 grams) of Half & Half
- zest of 1 Orange
- 1/2 cups (60 grams) of Powdered Sugar
- 1.5 tablespoons (20 ml) of Orange Juice
Glaze
Directions
- In a large mixing bowl, add in the flour, sugar, salt, and baking powder. Stir until combined.
- Cut the butter into small cubes, about the size of a pea, and add to the flour mixture. Work in the butter until the mixture is crumbly but it does not have to be perfect. I normally break up the butter and try to get as much flour covering the butter as possible. Breaking apart the butter cubes with my fingers until I get a semi uniform texture. About 5 minutes should do the trick.
- Add in the cranberries and stir to combine.
- In a separate bowl, whisk together the egg, orange juice, orange zest, and half & half. Whisk until combined. Then add to the flour mixture.
- Mix everything together with a spatula until a dough forms. You may need more half & half, add in only a teaspoon at a time because it will go from really dry to wet very quickly. The dough should be more on the drier side but you want all the flour moist.
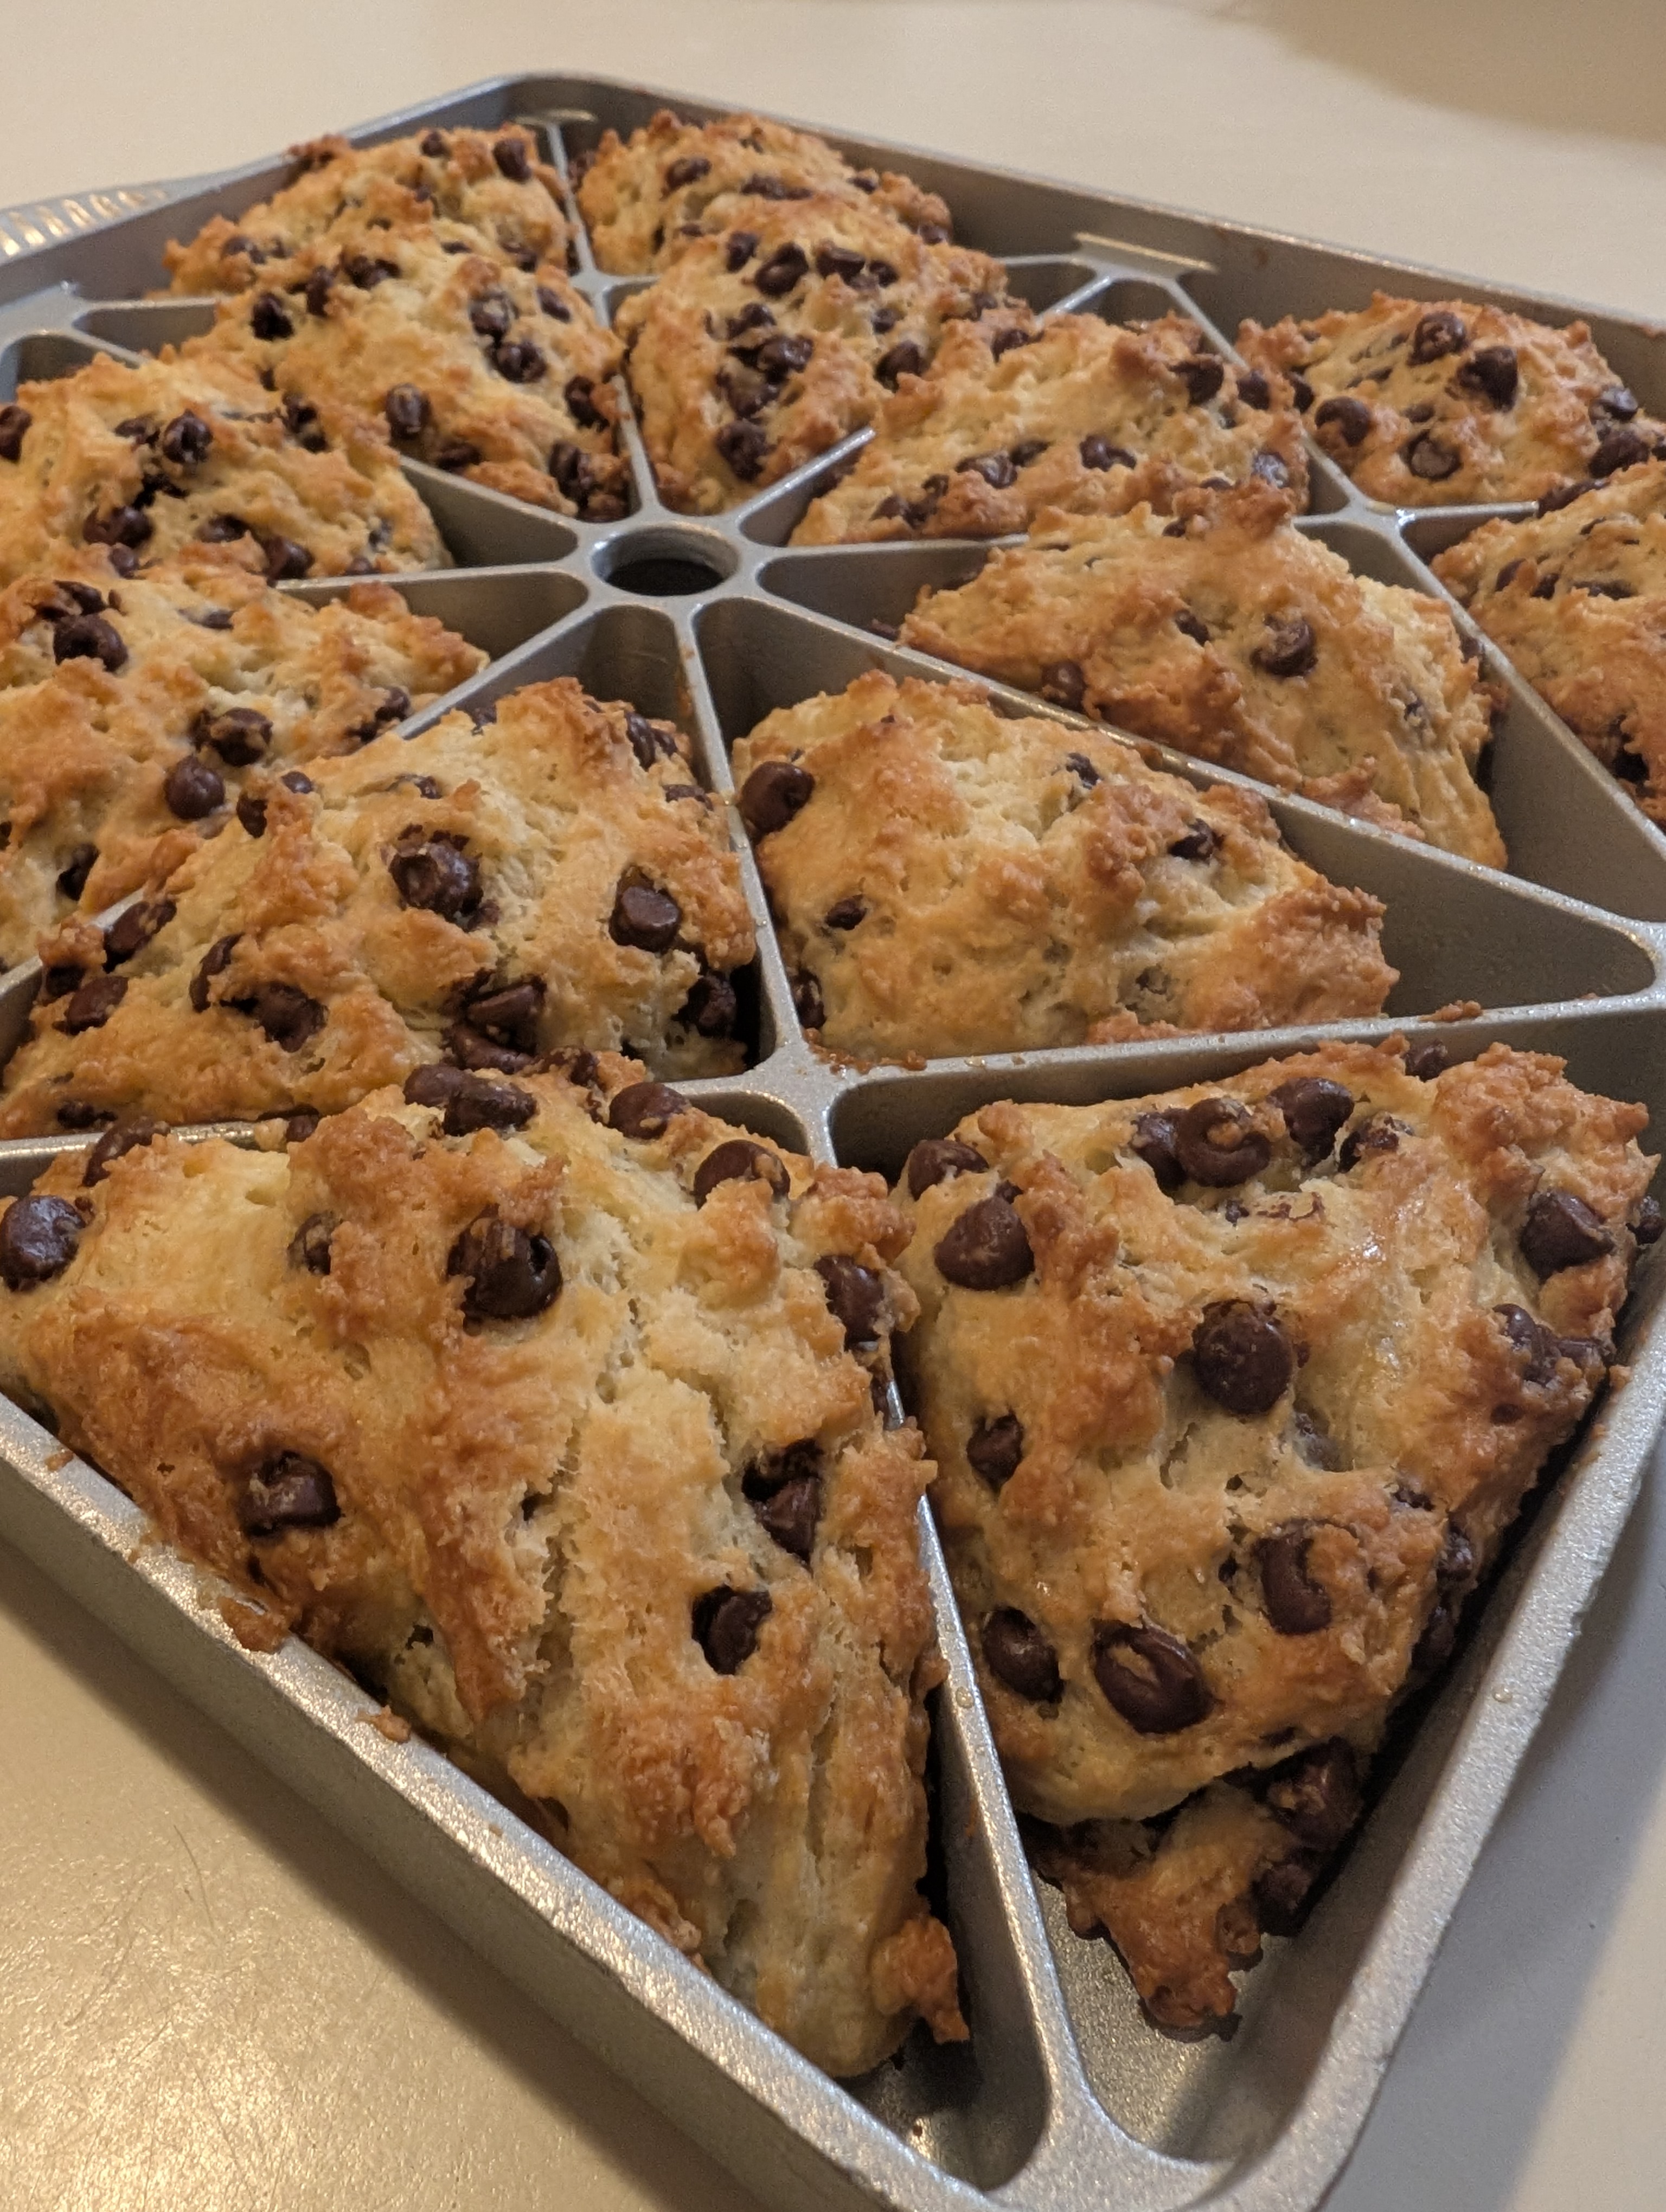
- I recommend using a scone pan as you will get the best looking scones but I will go over how to make them without as well. For the scone pan, using a cookie scoop, scoop in about a tablespoon of dough and press into the pan. Repeat until the pan is full.
- If you do not have a scone pan, split the dough into two dough balls and then flatten into circles about 6″ in diameter. Then using a bench scrapper, split each circle into six wedges and separate them from each other with a small gap.
- Place the scones into the freezer for 30 minutes or so to rest. This will give the best texture. More flaky and tender.
- Bake in the oven at 425F for 15 minutes or so until they are a light golden brown. Remove form the pan and let them cool.
- While the scones are baking, make the glaze. Whisk together the powdered sugar and orange juice until smooth. Pour on the scones once they are removed from the pan.
- To store, wait until they are completely cool place them in an airtight container and they will store at room temp for a few days.
Nutrition
Per Serving:
240 calories;
13g fat;
32g carbohydrates;
5g protein;