This is my most popular recipe at my bakehouse. It is also the most tested recipe that I have developed. It has gone through countless iterations and I can proudly say, ” Here it is”. Its been over 5 years since I started making these cinnamon rolls and in this recipe, I’ll share all my tips and tricks to make a cinnamon roll that you or anyone that tries it will not forget.
Tips and Tricks
These cinnamon rolls take some serious effort but they are totally worth it. Here are a few ideas to help make these rolls a bit easier.
- When letting the rolls rest for longer periods of time, do what is convenient for you. These longer rise times really allow for a lot of flexibility.
- After the rolls are made into a log, stretch the log and try to elongate the roll to even out the dough. The ends will always be smaller but you can try to make them similar to the middle.
- Another note is to trim off the ends of the dough log. This serves two purposes. One, removing the ends will make the rest of the rolls look prettier and thus more tasty. Second, you can use these trim pieces as tests for timing and flavoring. They will cook slightly faster so be aware.
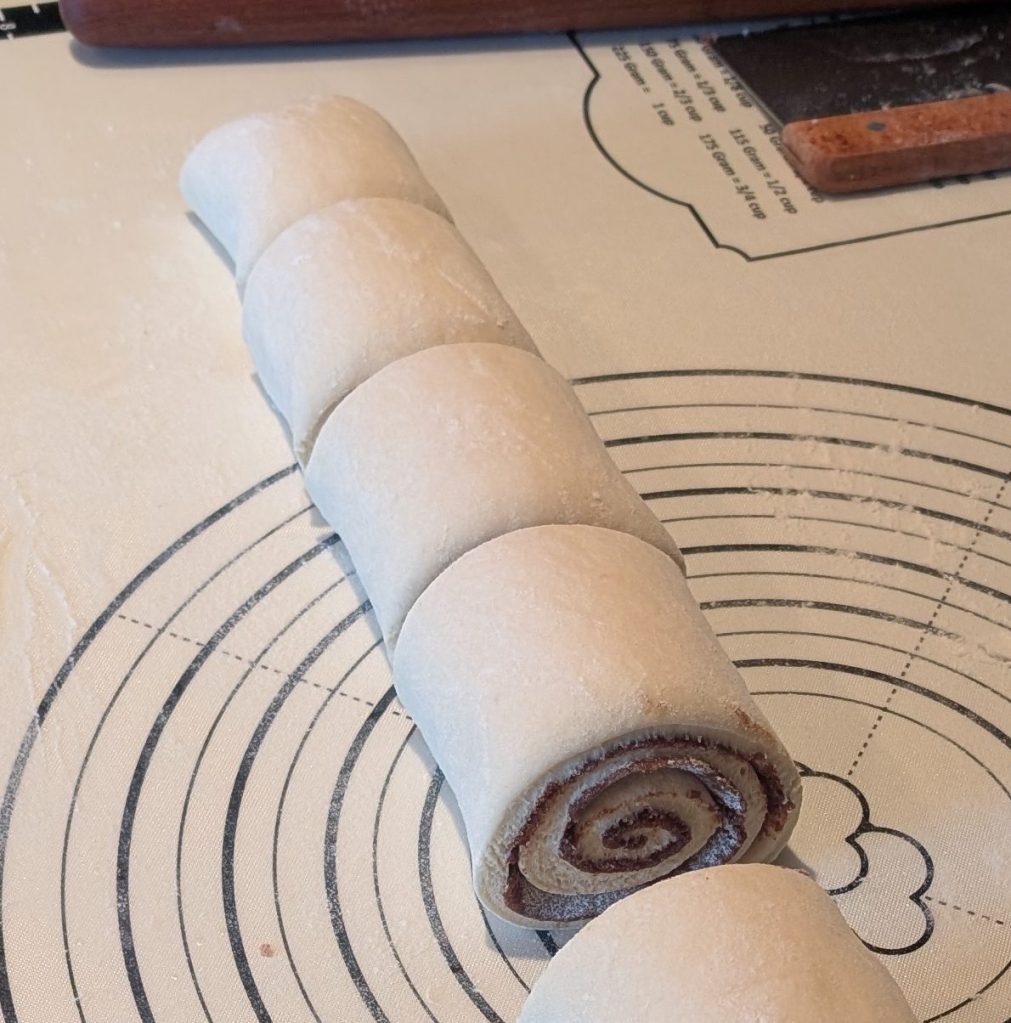
- When cutting the log for your pucks, I recommend using a bread knife. It will glide right through the dough and create nearly perfect rolls. See the picture below and to the right for some really pretty fresh cut rolls.
- When splitting the log up into the 12 section, I recommend cutting the log in half, then each half in half again, and then doing thirds. This way you get the most consistent thickness of all the pucks. See the picture below and to the left for the quartered log.

The Recipe
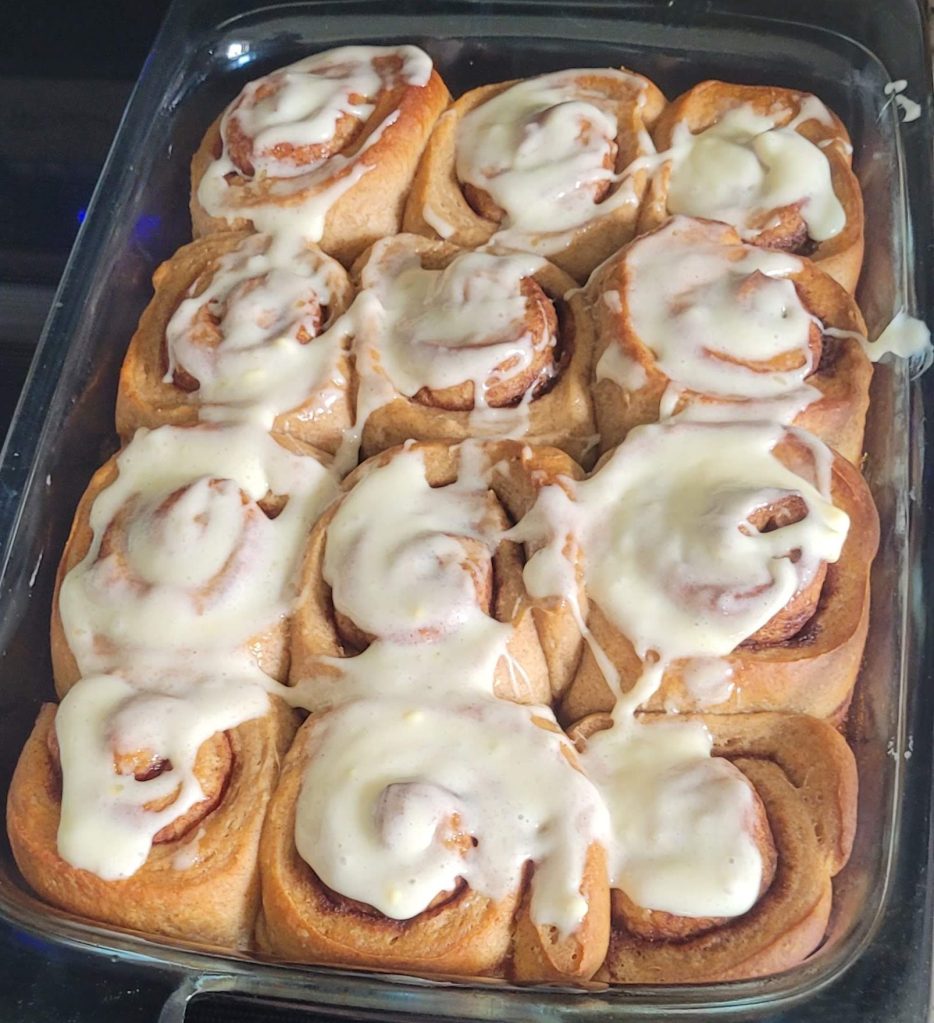
The Cinnamon Roll Recipe
These cinnamon rolls are a labor of love and anyone who tries them will love them too!
These can be prepped ahead of time. These can be made without Sourdough Discard. See more notes about both below.
Ingredients
- 260 ml (1 1/8 cup) of Milk
- 100 g of Sourdough Discard
- 2 g of Active Dry Yeast
- 90 g (1/2 cup) of White Sugar
- 4 g (1 tsp) of Salt
- 85 g (6 tbsp) of Unsalted Butter
- 500 g (4 cups) of All-Purpose Flour
- 150 g (1/2 cup) of Brown Sugar
- 20 g (2.5 tbsp) Cinnamon
- 1 g (1/4 tsp) Salt
- 115 g (1 stick) of Unsalted Butter Softened
- 115 g (3/4 cup) of Cream Cheese Softened
- 10 g (2 tsp) of Vanilla Extract
- 140 g or (1 1/4 cup) Powdered Sugar
Dough
Filling
Cream Cheese Frosting
Directions
- For the dough, heat up milk to anywhere between 70F to 85F. Add the milk, yeast, and sourdough discard to a bowl and mix until combined. Then add in sugar, salt, and melted butter then mix until combined.
- Add in the flour and then mix until combined. Let rest covered for 10 minutes. Then knead the dough until a shaggy ball forms. About 3 minutes.
- Let the dough rest covered for at least an hour and then knead for 2 minutes. Then shape into a ball and cover again. Place in the fridge overnight or for at least 4 hours. I’ve left it at this stage for over 24 hours.
- While the dough rests, its time to make the filling. For the filling, add brown sugar, cinnamon, and salt to a bowl and mix. Then add in the softened butter and beat with a paddle until well combined. It should create a brown paste. I recommend using a stand mixer or hand mixer for this as it creates the correct texture but you can do it by hand.
- Place this mixture in a container until its time to be used.
- After the dough has rested, it is time to shape the rolls. Let the dough warm up for at least 10 minutes at room temperature. This will allow it to roll out thinner and easier. Flour your work surface and place the dough on the flour. Slightly stretching it as you go. Press and stretch the dough to get it into a rough square.
- Using a floured rolling pin, roll the dough into a 12″ x 12″ square. It should be between 1/8″ and 1/4″ thick. Once rolled out, make sure the dough isn’t sticking to your work surface.
- Spread on the filling mixture, trying to cover as much of the dough as possible. Leave one edge free of the filling. About a finger’s width. Once spread evenly, start rolling the dough, beginning at the edge opposite of no filling. Roll into a tight log, add a small amount of water to where there is no filling, then finish the roll. The water will create a seal and keep the roll together.
- Prep your 9×13 baking dish by covering with butter or a light coat of spray on oil. We don’t want these rolls to stick.
- Now that you have a log, cut into pucks about 1″ thick. Place into the baking dish. Cover and let rest for at least 2 hours at room temp or overnight in the fridge.
- While the rolls rest, let’s make the frosting. Add in softened cream cheese, sugar, and vanilla extract into a bowl. Mix with a whisk until a thick cream forms. I recommend a stand mixer for this for the ease. It will take between 3 and 4 minutes. Place into a container and then into the fridge until the rolls are done.
- After the rolls have rested, pull them out of the fridge for at least 1 hour and up to 3 hours to warm up. Your bake time will vary based on how long you let them warm up. While this happens, preheat your oven to 350F. Once dough has warmed up, place into the oven covered for 40 minutes.
- After 40 minutes, remove the cover and bake for an additional 15 to 20 minutes. They should just start to get some golden brown around the edges and high points.
- Let cool for 5 minutes and then frost them. They are now ready to eat. Enjoy!
Nutrition
Per Serving:
400 calories;
7 g protein;
18 g fat;
54 g carbohydrate;
Notes
- Parbaked Cinnamon Rolls
- Often with these rolls I need them first thing in the morning and it can be really difficult to get up early enough to bake them completely in the morning. So, what I like to do is bake them for about 40 minutes at 350 F and then pull them out of the oven and completely cool. You can either store in the fridge overnight or freeze. That way you can bake them early the next morning or a different time for 20 minutes at 350 F. This will keep the cinnamon rolls fresher and a lot tastier if you can finish baking them and eating them on the same day.
- Sourdough Discard Substitution
- I really recommend using a sourdough discard for this recipe as it gives the cinnamon rolls a really nice tang that pairs well with the cinnamon. But not everyone has a sourdough starter so there is an easy sub. Just increase the amount of active dry yeast to 5 grams instead of the 2 grams. That little change will provide enough lift over the long time frame that these have to rise.